
Customers often bring their old jewelry into the store to trade in towards the price of a new piece. The jeweler appraises the item, accepts it into the store, and then credits the customer. The customer then picks up a new piece of jewelry using the credited amount to pay for it. The Trade in submodule grid lists the inventory items received through trade-ins. This is essentially a history of the items that were purchased through this module.
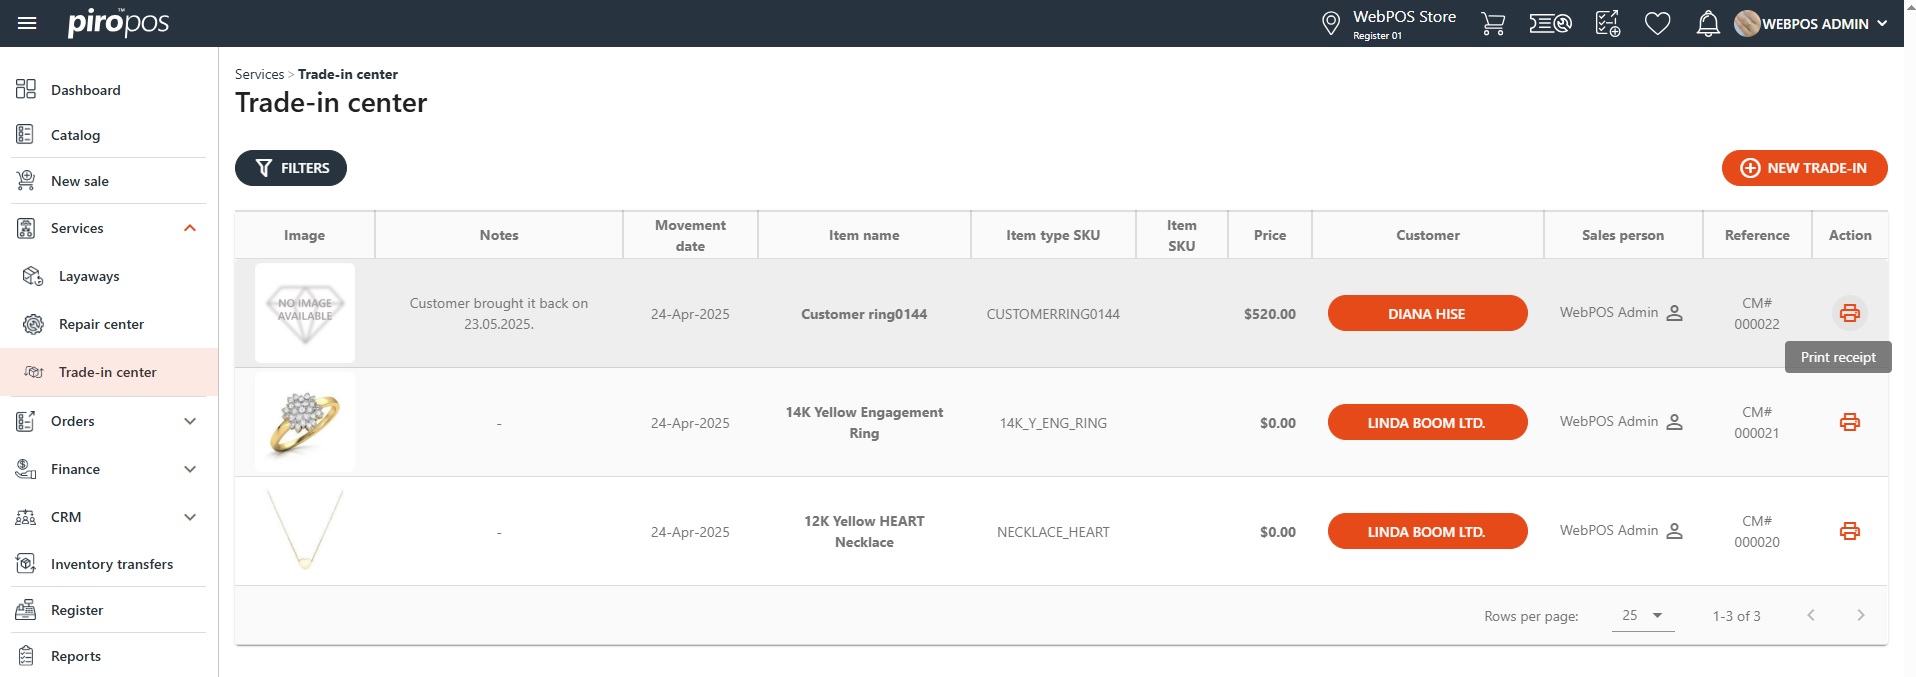
To create a new trade-in ticket click the NEW TRADE-IN button above the trade-in center list.
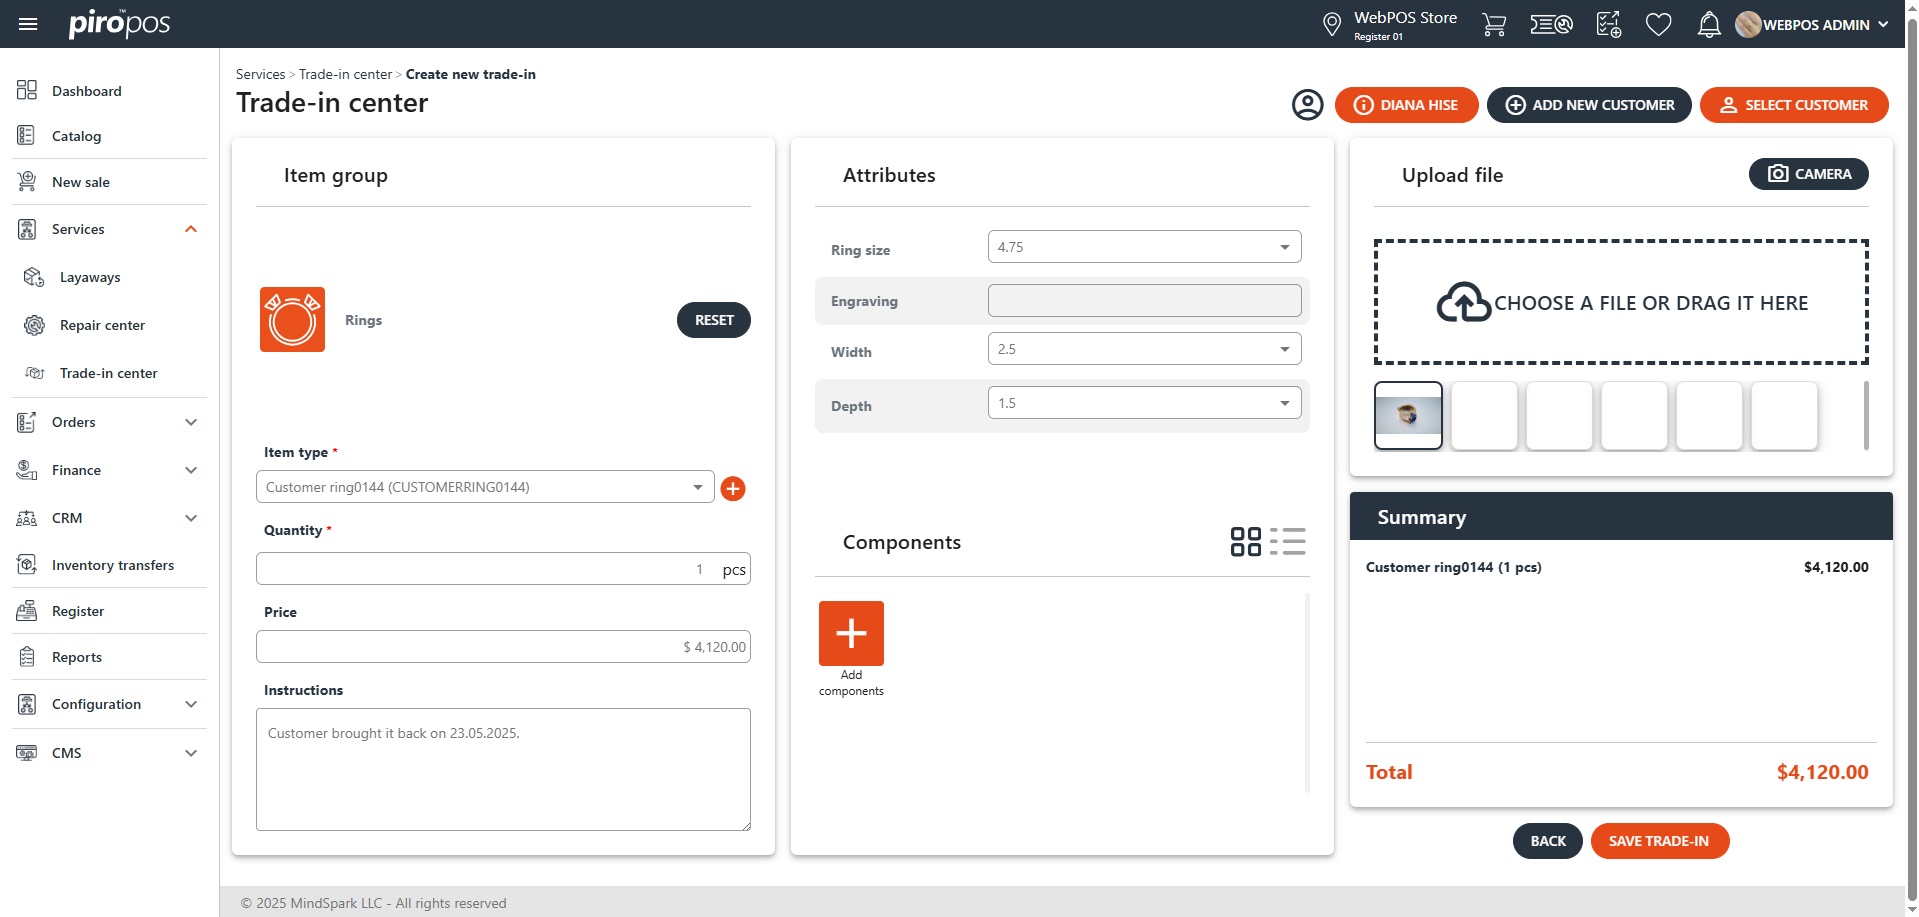
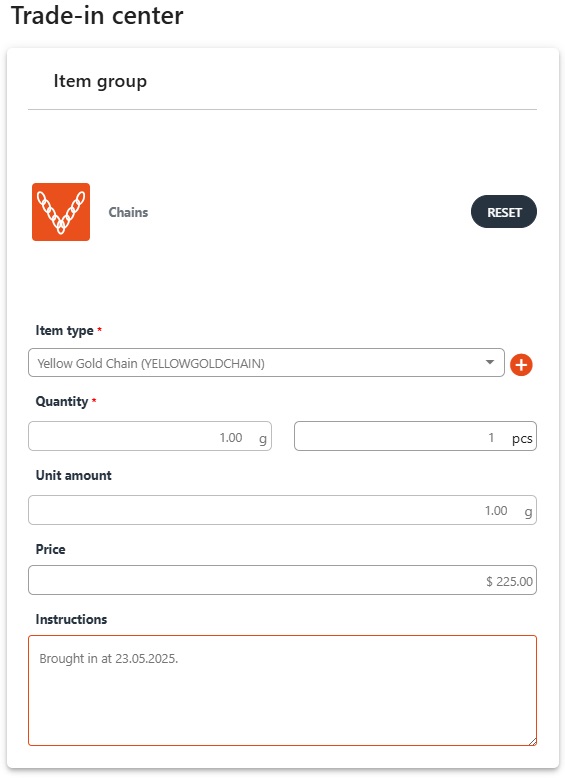
Choose the item group icon from the existing ones or click the Reset button to select a different one.
Note: only those item groups are listed here which have the Accepted inventory groups setting enabled in the backoffice.
Selecting the item group in the first section is not obligatory, just choose the item type from the selection list or add a completely new one using the plus ‘+’ sign and enter an item name in the field. Then, enter the quantity, the price and fill the instructions field if you would like to.
If the selected item group has predefined attributes, they can be specified via the following form and components can also be added by clicking the Add components button in the Components section:
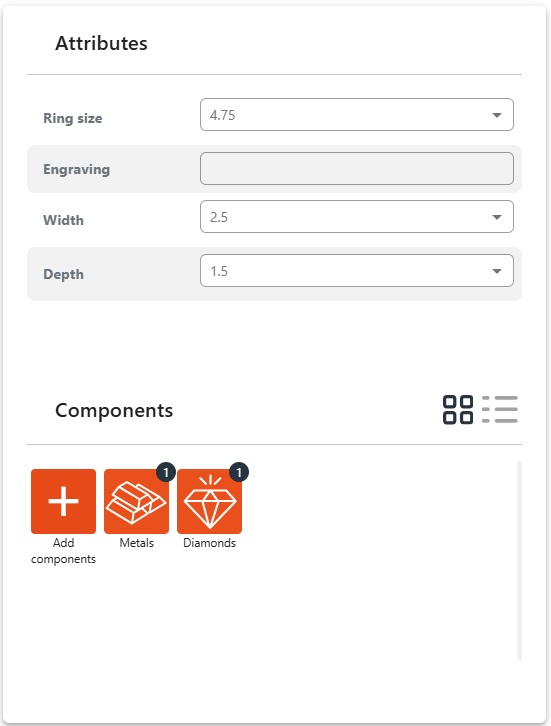
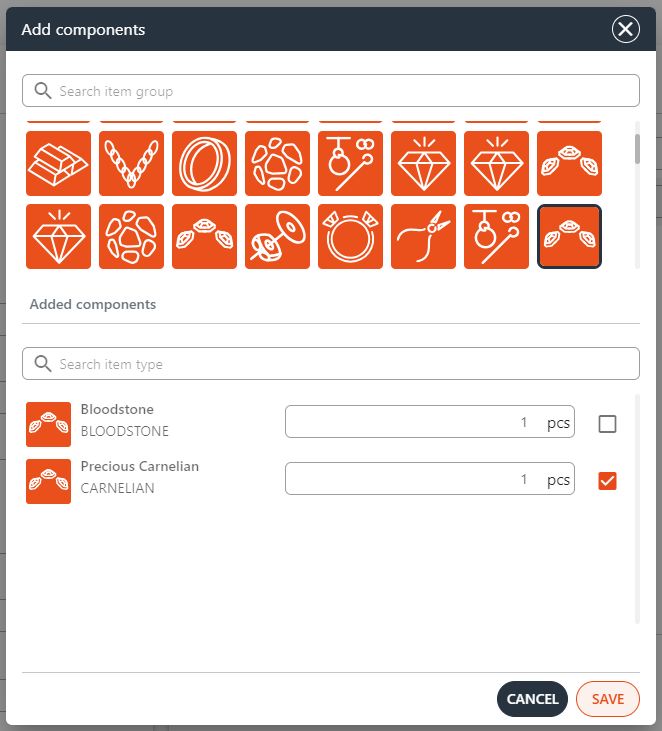
Similar to the main trade-in item type, choose the components you wish to add to the item using the Add components dialog and click the SAVE button:
If the chosen trade-in item has an image, it will appear in the next box. However, you can add new images to the order by clicking on CHOOSE A FILE OR DRAG IT HERE or by taking a new picture using the CAMERA button above the images. The Summary shows the total estimated price of the trade-in item:
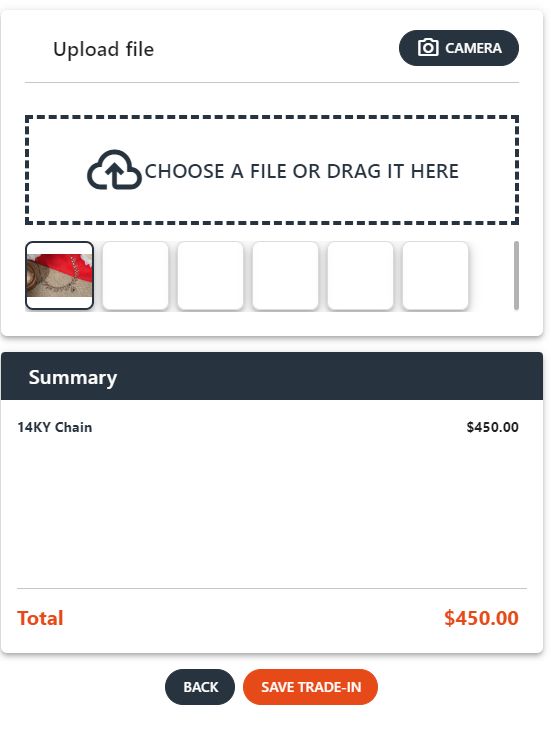
By clicking the SAVE TRADE-IN button, the trade-in ticket will be sent into the backoffice system as a Credit memo, visible on the Customer credits list with CM initials.