
The New sale module lets you add and manage customers, create sales orders and consignments, apply discounts to items, manage payments, and more.
There are four ways to add an item to the cart:
- Select an item from the Catalog module by clicking on the cart icon on the product card
- Scan the item’s barcoded tag using the SCAN ITEM option from here
- Manually enter the Item SKU number (inventory number) into the ITEM CODE search field on this page
- Choose the item type from the ITEM TYPE drop-down on this page
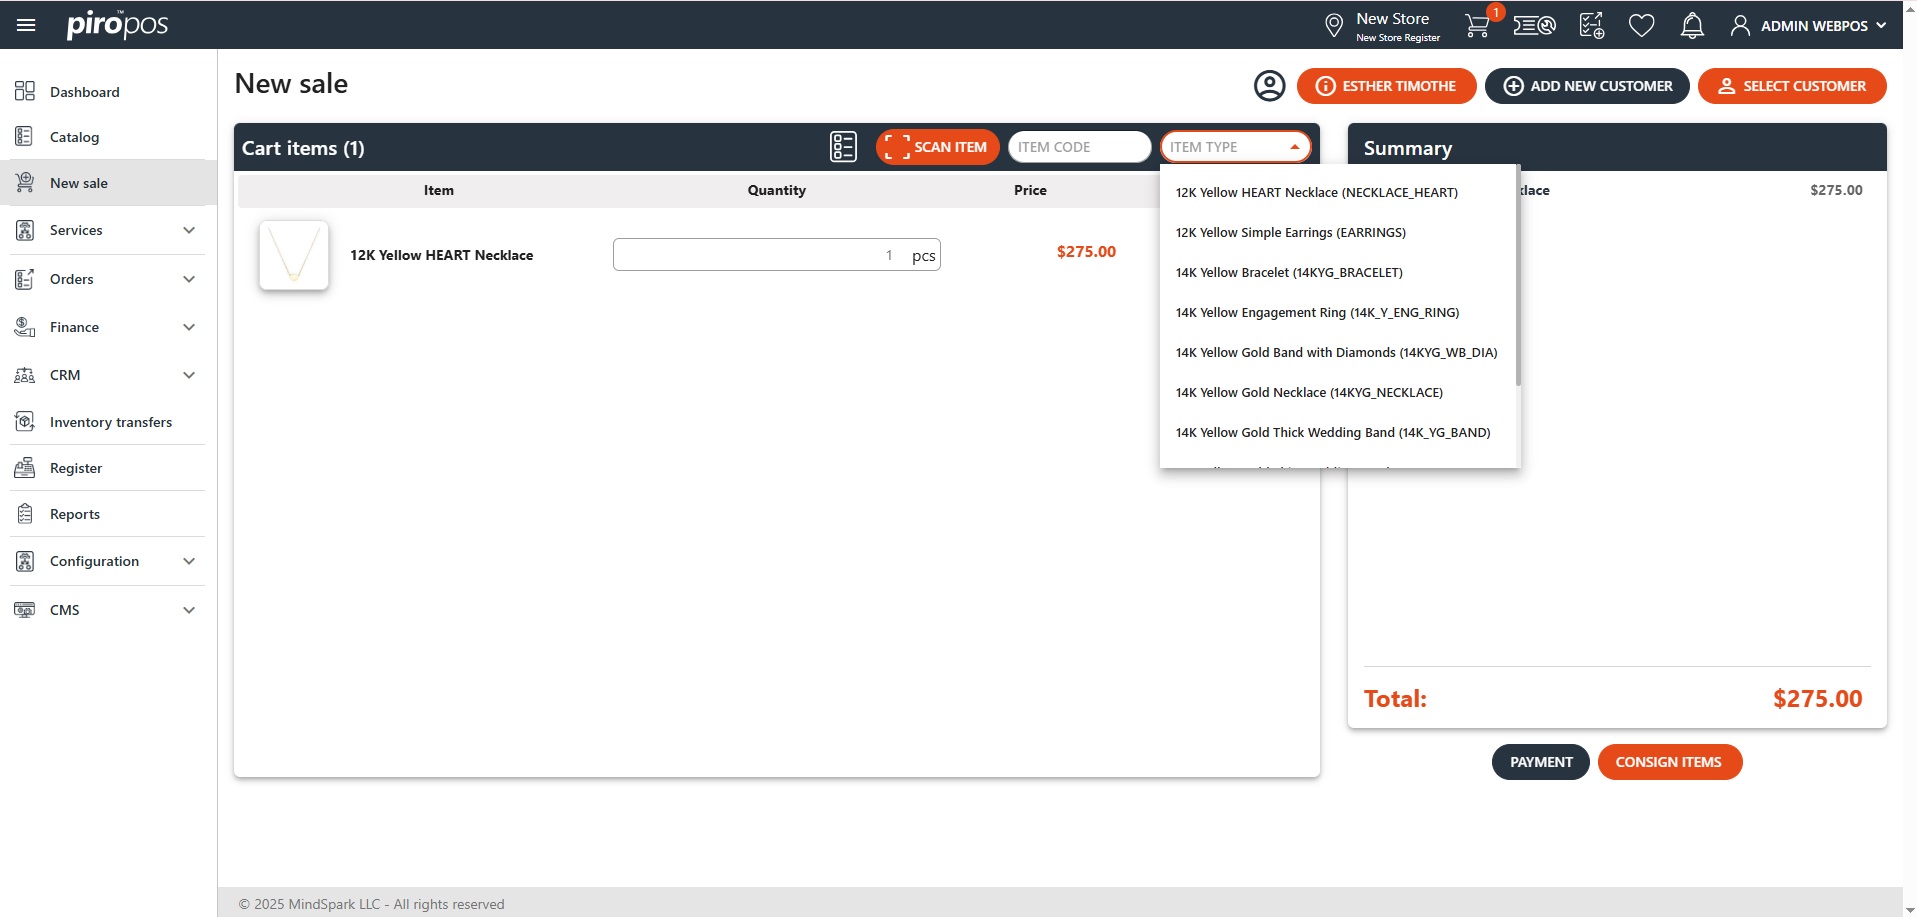
The selected item(s) will appear in the cart as separate rows, displaying their images, names, quantities, and prices:
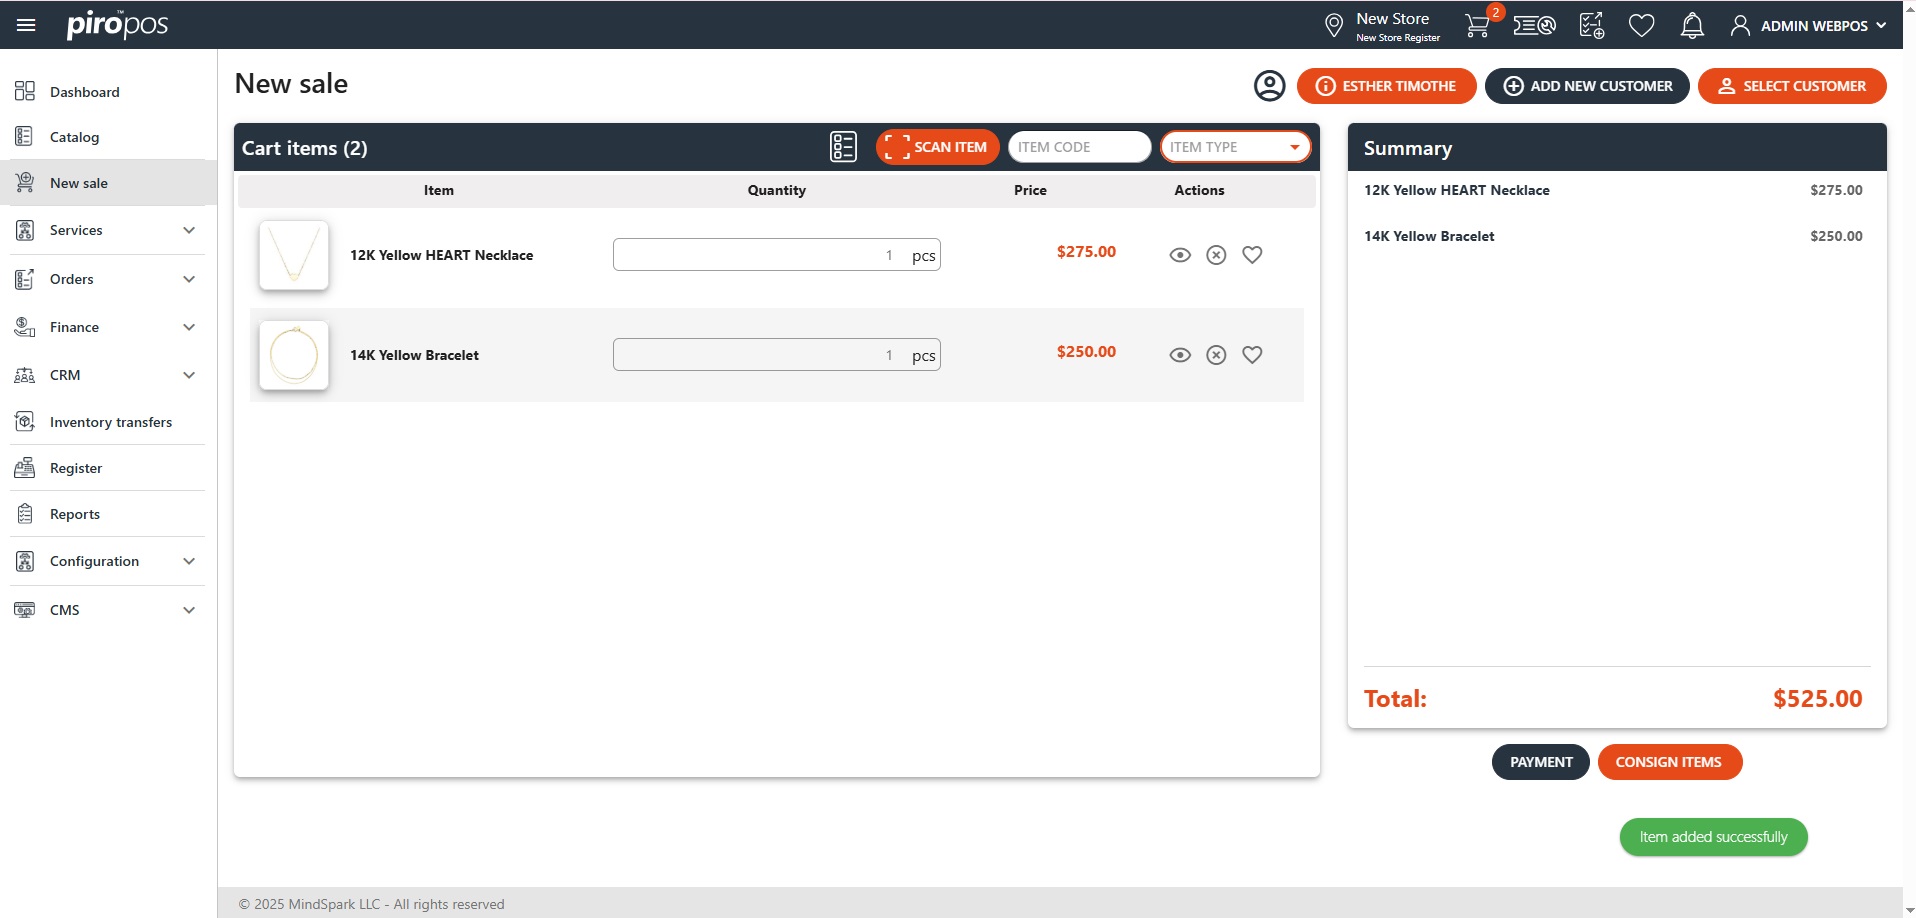
Only the item’s quantity is editable inline. Additionally, you can delete the item or add it to the Wishlist from the main cart screen – this action will remove it from the cart.
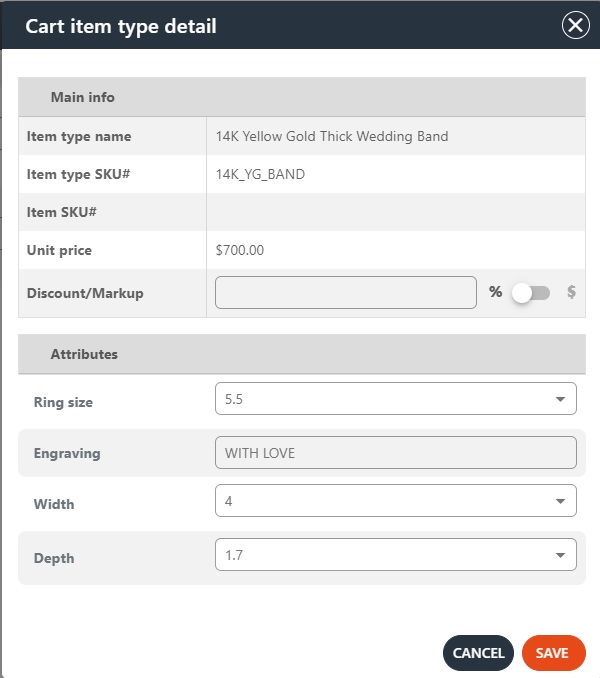
Click on the eye icon to apply a discount or markup to the item. For item types, the attributes can be seen here as well:
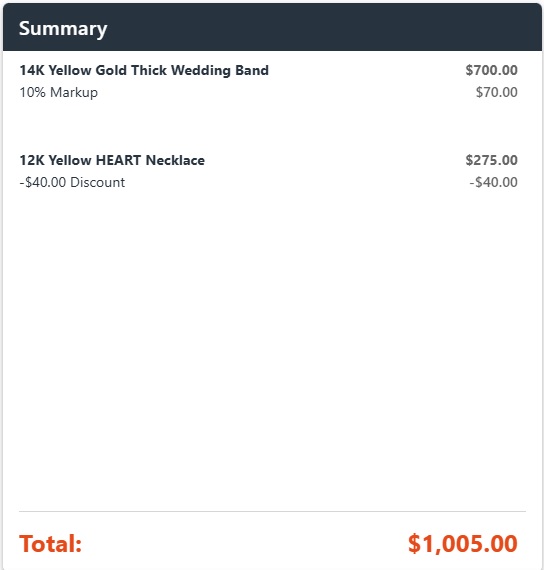
The product/s name, price, discounts/markups, total price, and sales tax are shown in the Summary box:
Select your payment method by clicking the Payment button below the Summary. The system will warn you if you attempt to process the payment without selecting a customer first.
The PIRO team or a POS admin user customizes the available payment options under the Configuration module. Cash, Credit card (via Square Payments), Pay later, and Credit account options are available by default. The Other options section may include additional payment methods such as Check, Deposit, etc. Adding any Other payment options should be pre-configured in the backoffice system.

If the Cash option is selected, enter the amount into the register and provide any change due.
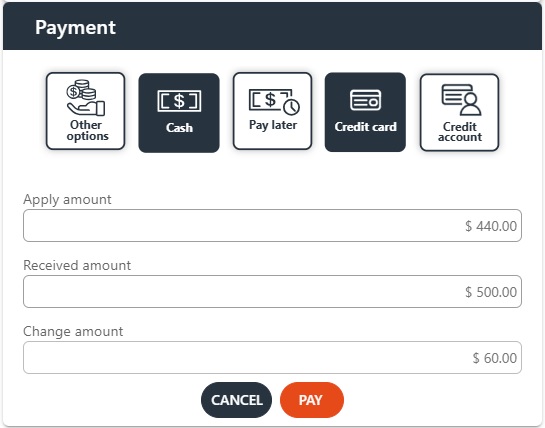
The cash flow is traceable in the Register module, its description can be found under the module with the same name. The Credit account can only be selected if the user has an available credit line, the purchase will be applied to their available credit memos.
Once the payment is registered, the system will let you print its receipt:
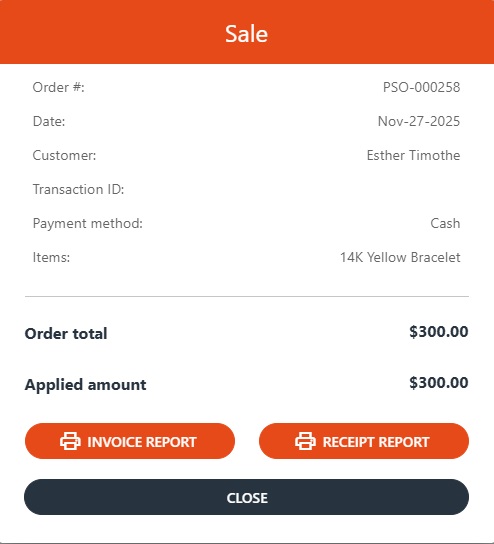
This document can be formatted for a Zebra thermal receipt printer or as a PDF-based document.
The Pay later option will not prompt a payment, but will create a sales order and an invoice in the backoffice. In this case, the invoice status will remain created until a payment transaction is added. A payment transaction can be registered through both the POS and Backoffice:
- From the POS: go to Orders, find the order, and select the Add payment option (dollar sign icon).
- From the Backoffice: go to Sales → Invoice, find the invoice, select it, and choose Pay.